Fixture Control - Patch
The Patch function in ControlGo allows users to assign DMX addresses to fixtures, ensuring effective communication and control during use. Proper patching is essential for precise management of lighting setups.

How to Patch
Follow these steps to patch a fixture to ControlGo:
1. Select an Empty Slot

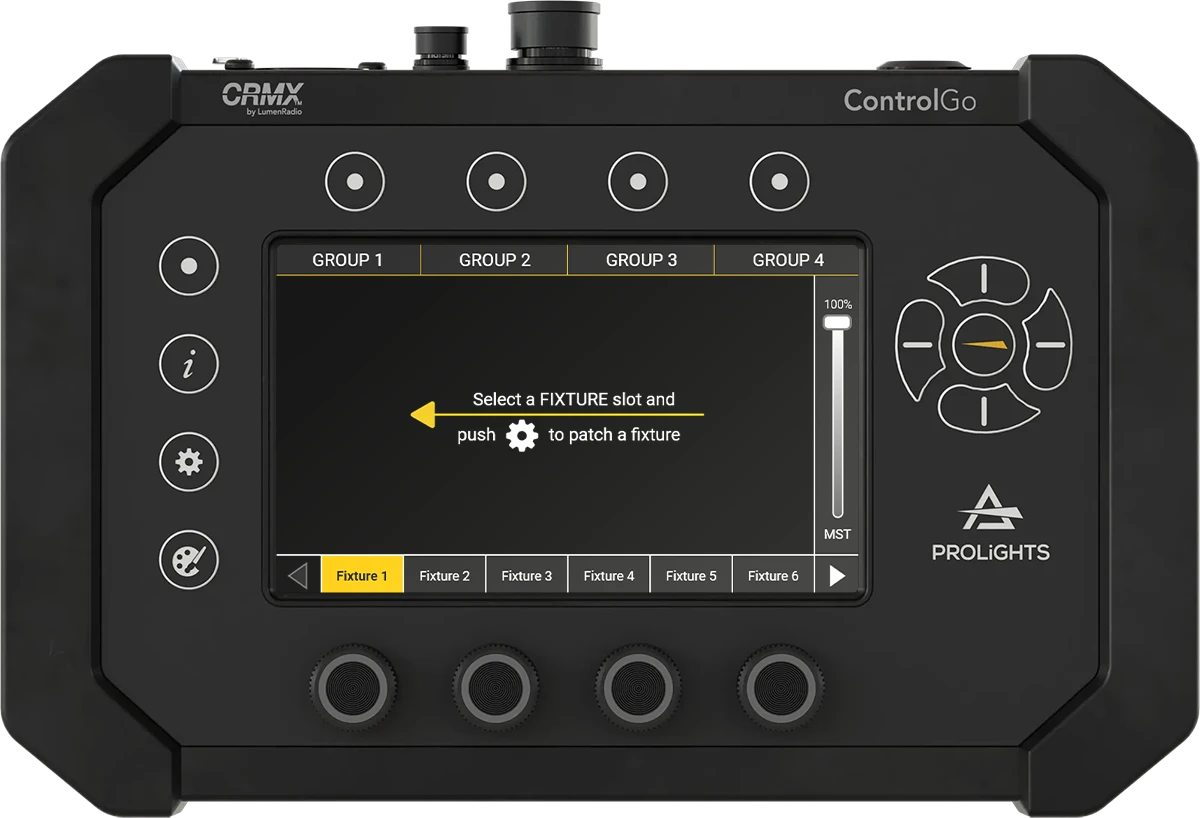
In the bottom section of the screen, locate the fixture bar and select an empty slot. This slot will be used to add the new fixture.
2. Open the Patch Screen
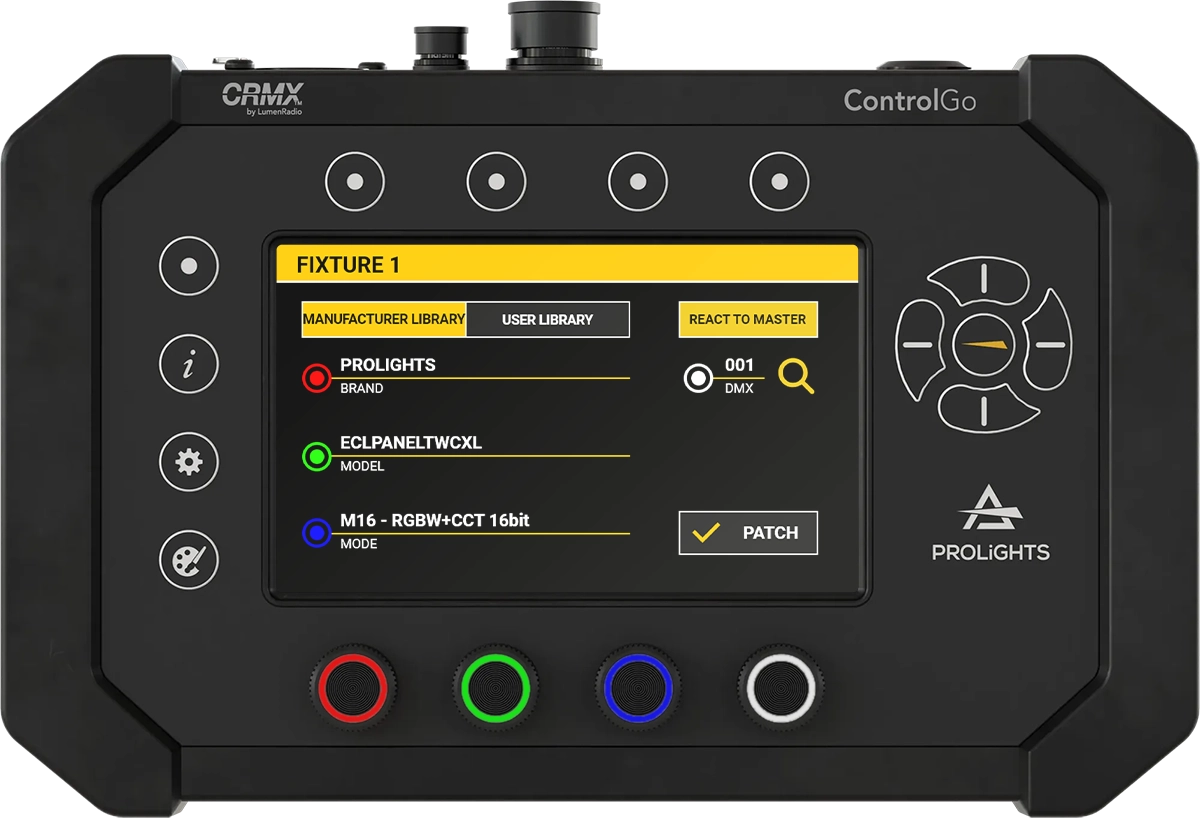
Once an empty slot is selected, on-screen instructions will guide you. Press the Gear Button located on the left side to open the Patch Screen.
3. Choose a Library
In the Patch Screen, select a library from either Manufacturers or User. The available fixtures for the selected library will be displayed.
Refer to the Library Management section for detailed instructions on managing fixture libraries.
Ensure that the fixture files are saved in the correct folder (Manufacturer or User). Placing files in incorrect locations may result in unexpected behavior.
4. Select the Fixture
Use the encoders to make selections:

- Red Encoder: Choose the brand.
- Green Encoder: Select the model.
- Blue Encoder: Pick the mode.
5. Set the Starting Address
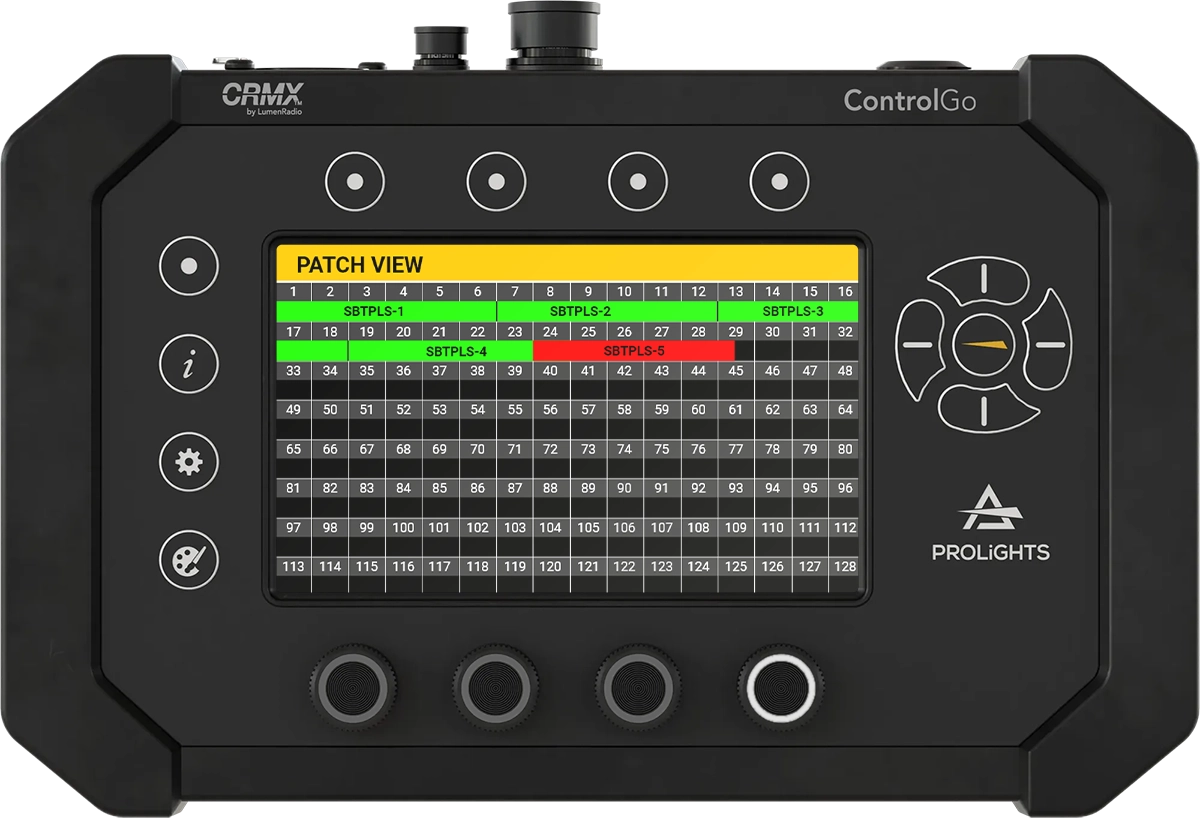
Use the White Encoder to select the starting address for the fixture. The system will automatically assign the first available DMX slot. Alternatively, press the magnifying glass icon to open the Patch View for manual address selection.

In Patch View, select the starting address on the grid using the touchscreen or by rotating the white encoder. To confirm the selection, press the encoder.
If React to Master is selected, the fixture’s dimmer will respond to both the main ControlGo master dimmer and the group master dimmer, allowing for integrated intensity control.
-
Apply Settings
Once all settings are configured, press the
Patchbutton in the bottom right of the screen to proceed and save the fixture settings.